
I used to run CentOS because my first server came with CentOS (and cPanel too, by the way), and I kept using it to stay as compatible as possible. Over time, though, I kept finding software that was easy to install with apt-get but wasn’t available in yum (CentOS’s package manager), along with a steady stream of other complications. Whenever I followed a Linux tutorial, some steps didn’t work the same way, paths were different, there were permission problems that shouldn’t happen, and so on.
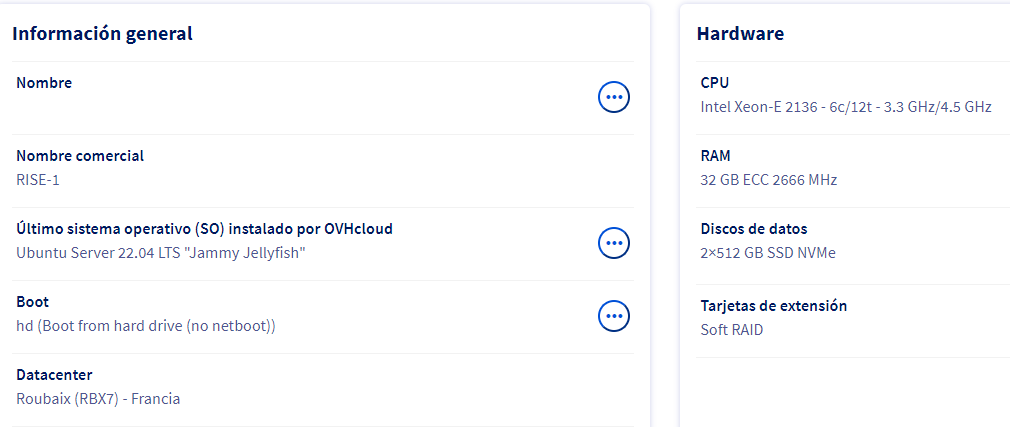
At work I used Ubuntu Server a couple of times and everything is much easier. Just follow the Digital Ocean guides and everything works on the first try (or almost, as we’ll see below). So that’s what I went with. I installed 22.04 LTS because it’s the most recent Long Term Support release.
The first problem showed up when I tried to connect to the server for the first time. I chose to use an RSA SSH key file, but there was no way to get in. Apparently this is a serious mistake on their side, because public key authentication is disabled by default. The /etc/ssh/sshd_config file should say PubkeyAuthentication yes, but by default it says “no”. So it’s impossible to access the system that way.
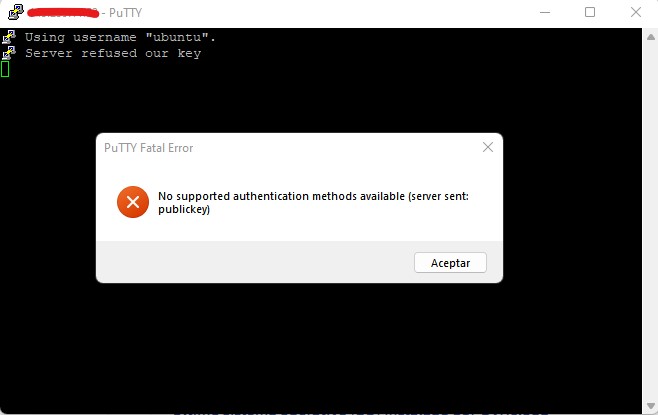
I had to reinstall the operating system and choose to be assigned a random password. That way I could get in, enable public key authentication and disable password access. In total this problem cost me at least 45 minutes until I found the fix. The whole time I thought I was doing something wrong. I reinstalled the system just to try something different. Only afterwards did I realize it could never have worked.
Once I had access, the first step was installing PHP 8.0, because by default it would install 7.4. I followed the steps in this guide (in Spanish), which basically means installing a couple of dependencies, adding the ppa:ondrej/php repository and installing php8.0. Then I made sure to install all the remaining Laravel 9 dependencies in one go. For that I copied the commands from this other guide:
$ sudo apt install php8.0-common php8.0-mysql php8.0-xml php8.0-xmlrpc php8.0-curl php8.0-gd php8.0-imagick php8.0-cli php8.0-dev php8.0-imap php8.0-mbstring php8.0-opcache php8.0-soap php8.0-zip php8.0-intl -y

$ sudo apt-get install libapache2-mod-php8.0
After that, all that’s left is installing Apache and MySQL. For that I followed the Digital Ocean guide, which is the one that almost always works. The only extra steps are in the firewall section: you have to make sure OpenSSH is allowed, or you’ll lock yourself out of SSH. That happened to me, and I had to get into the server through the web console OVH provides, which only worked because I still had the password they’d assigned me. I easily lost 30-40 minutes on that.
The problem came from the mysql_secure_installation section: at one step it hangs, and you have to open a second SSH connection to set the MySQL password a different way (found on this site). That’s when I discovered I couldn’t open another connection because OpenSSH wasn’t allowed.
The rest of the steps worked without issues, and I could run the first tests and data migrations.
One comment
[…] With the server set up, the remaining step was moving the data from the old server to the new one. This is a delicate process […]